Puppy Cake Pops (Chocolate Cake Pops)
- By Amy Dong
- Published Jul. 21, 2012
- Updated Nov. 16, 2023
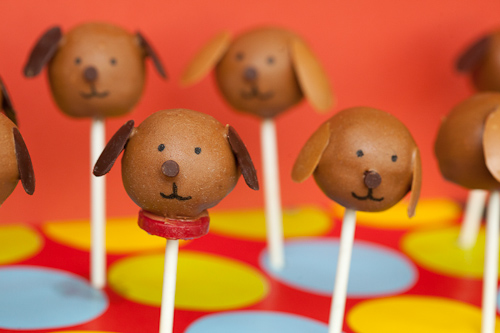
These puppy cake pops are not only super cute, they’re actually extremely delicious. With a peanut butter and chocolate flavor profile, both adults and kids will be snatching these up.

Cake Pops are always a hit
One of my little guys celebrated his 6th birthday this summer. Of all possible cake-y requests, he asked for cake pops. It took me a lengthy 2 seconds to decide what style the pops would be.
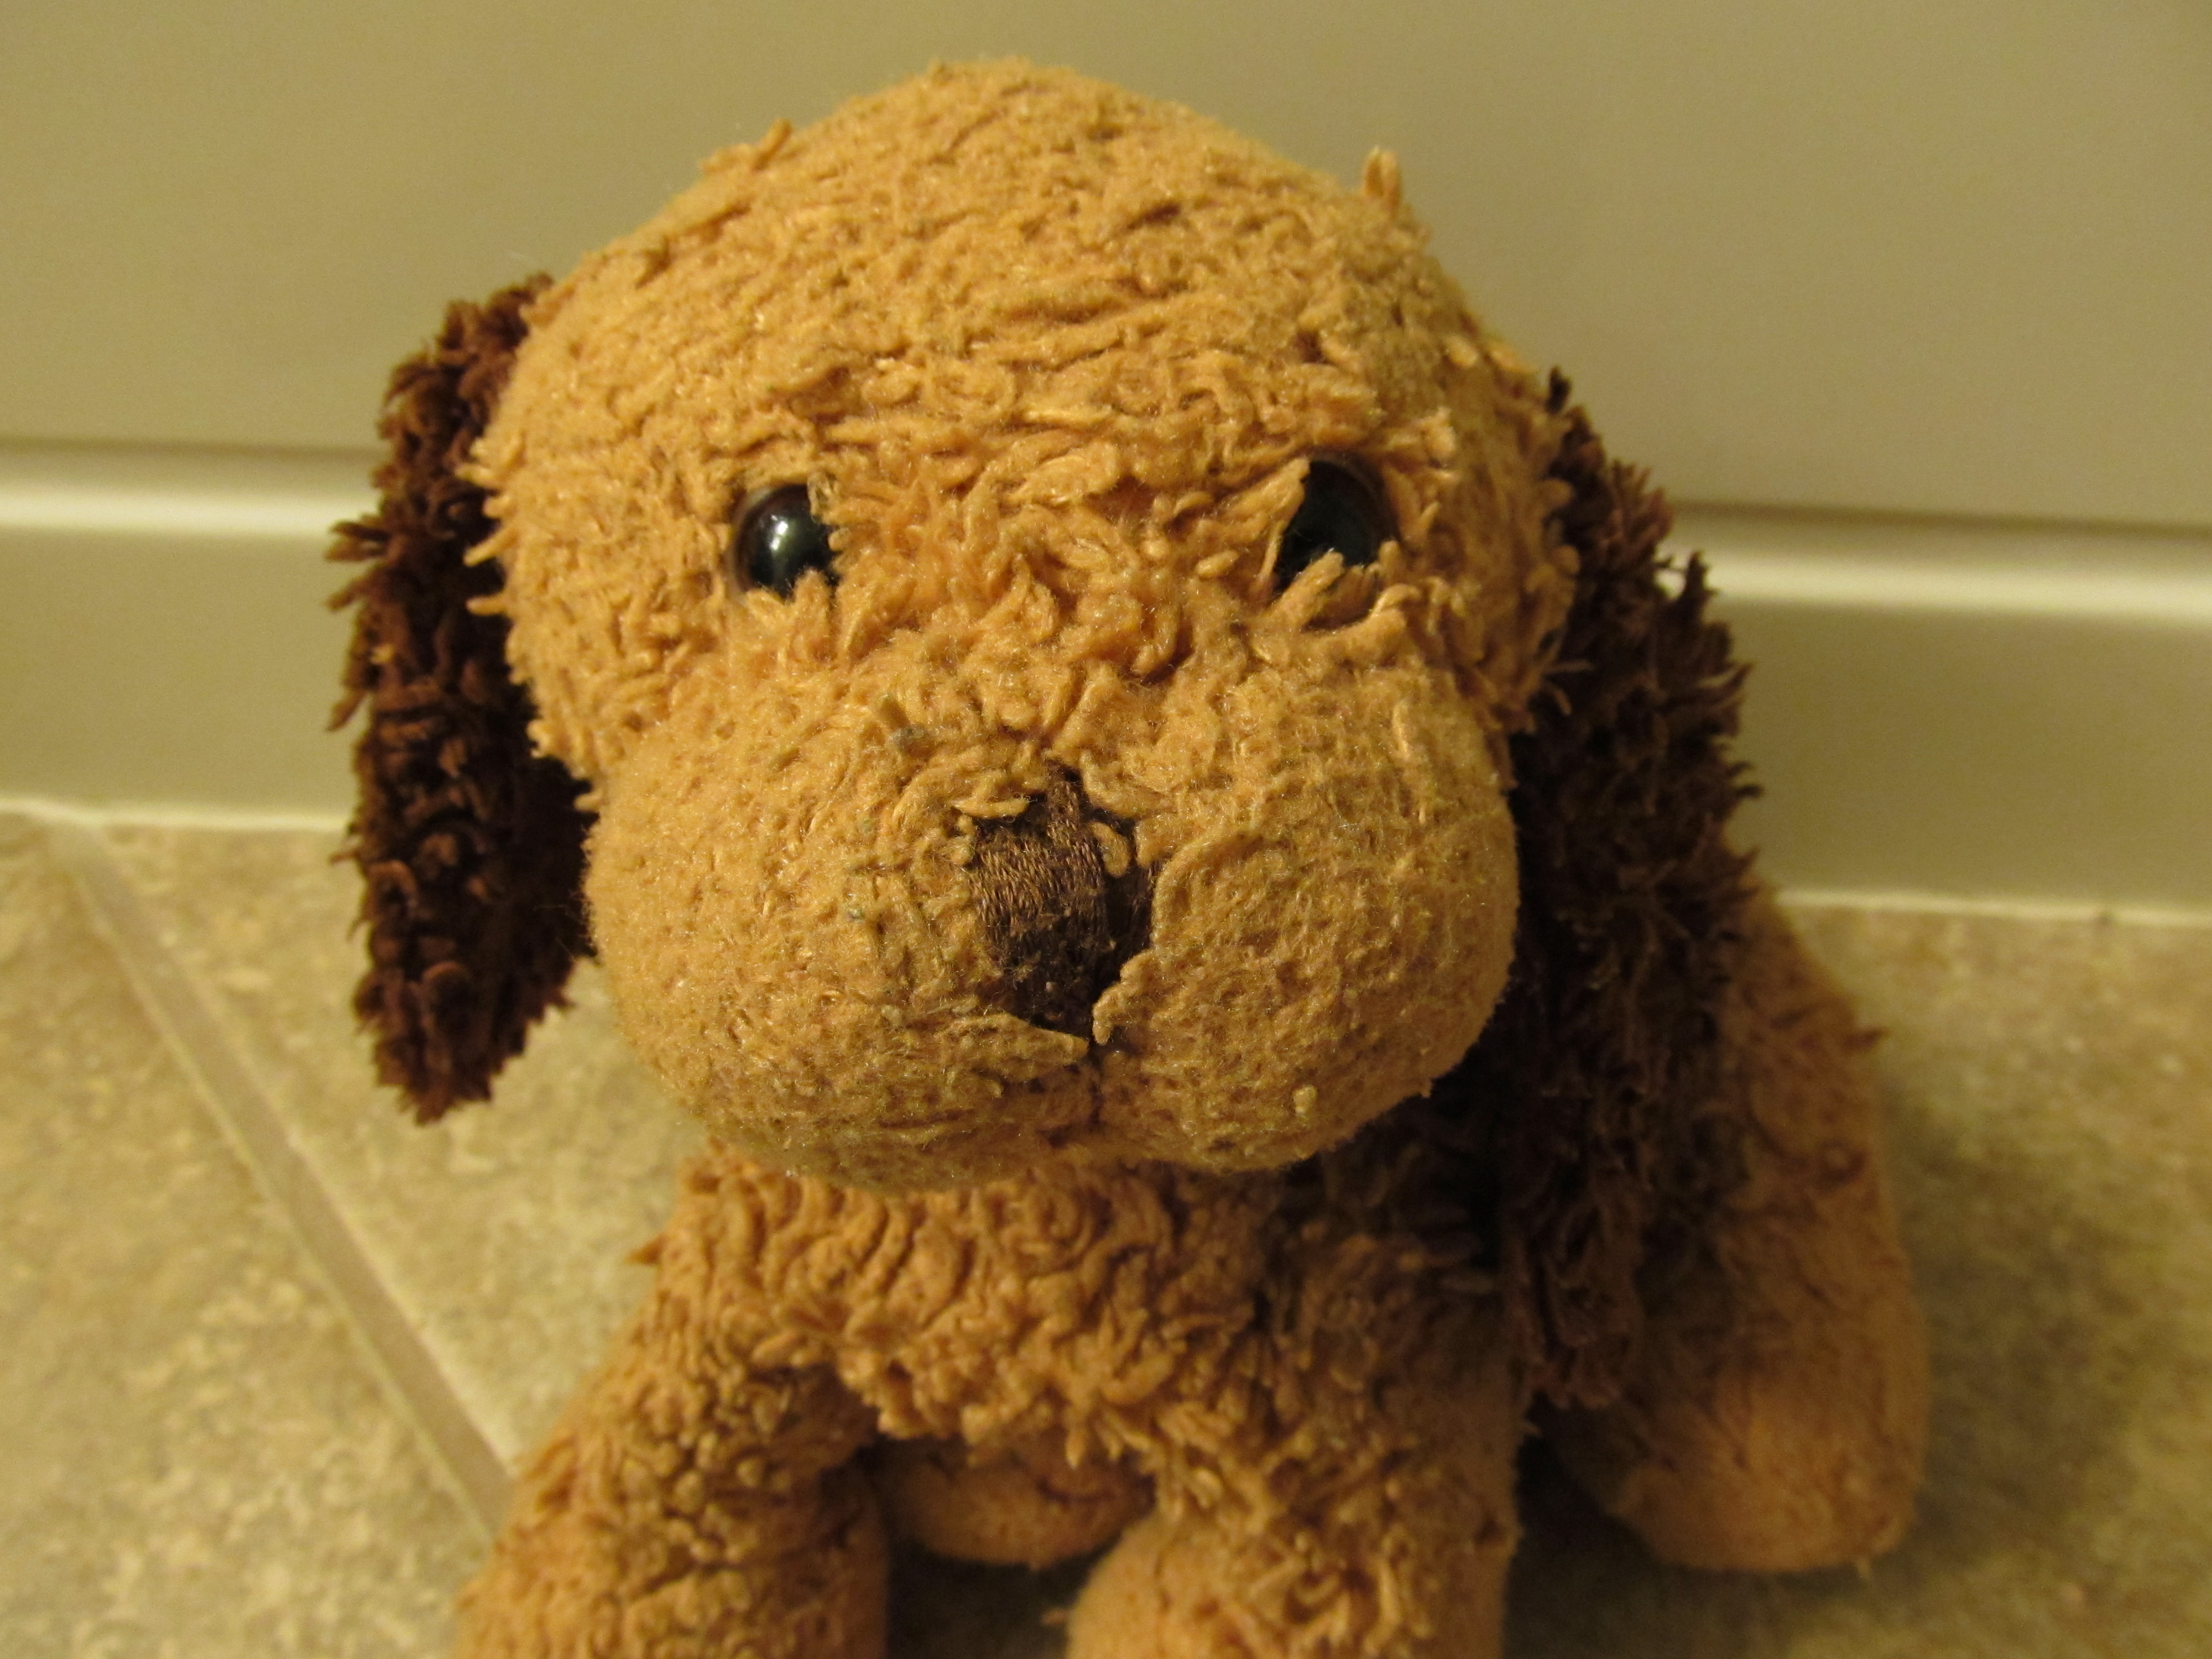
My sweet boy’s favorite thing in the whole wide world is unmatched by any other – his stuffed puppy dog. It’s famously known as the scraggly, falling-apart toy pup named “Timmy.” Timmy, who has never left my son’s side since infancy. Timmy, who’s endured ugly ear surgery twice (I’m no seamstress) and who sports bald spots where there used to be fur. Timmy, who my son vehemently refuses to replace, no matter how beautiful a new stuffed dog might I offer.
Yes, puppy cake pops it would have to be. These turned out looking so much like the real Timmy that when my son saw the cake pops, he shouted, “They’re Timmy! You made little Timmies!”
I mean, how cute is that?? Dog lovers around the world, unite!

Fun, Easy Birthday or Holiday Treats
Cake pops are everywhere. Their popularity is partly due to the fact that they are easy, moist, attractive treats that satisfy those with sweet cravings and who want one little bite. Or two or three. Plus, they are a blank canvas for the ultra creative people of the world (I’m not in that category.)
It takes a couple stages to complete these, but each stage is simple. If you’ve ever made cake pops, you already know these are done easily with various combos of boxed cake mixes & frosting, unless you want to make your own.

The only trick was my edible ink pen, which didn’t write on the coating as easily as I wanted. The pen I am listing on this recipe is supposedly a better one than what I actually used. I’ll be using it next time instead. Still, these turned out really well.
There are always new edible pens coming out, so keep your eyes open for new options to. make your designs stand out. It’s your excuse to buy new pens 🙂

Peanut Butter and Chocolate Cake Pops
What happiness it was for us to make these cake pops. The kids loved watching the process and “helping” (aka eating.) The peanut butter exterior goes perfectly with the chocolate cake interior, similar to my favorite candy in the world – Reese’s peanut butter cups. Does anyone else find it hard to stop popping the candy morsels or chocolate chips in your mouth when baking? Anyone? Please…someone.
This is a super fun baking activity to do with your older kids, if they’re interested in baking or simply being creative. Younger kids can “help,” but know that they’ll most likely eat all the ears and noses up first. You can also try your hand at these lion cake pops!

Try these easy, fun 3-ingredient shortbread cookies, too:
Did you make this?
Please give us a rating and comment below. We love hearing from you!

Puppy Cake Pops, Adorably Sweet
Ingredients
- 1 box cake mix, I used chocolate, baked as directed on box and cooled1 can frosting (I used chocolate)1 package chocolate candy melts1 package peanut butter candy meltslollipop sticksAmericolor Gourmet Writer black edible ink pensplastic spoonsmini chocolate chips (nose)lifesavers (collar)styrofoam block
Instructions
For the ears (can make ahead a day or two ahead of time):
- Fill inside of plastic spoons with melted candy coating of your choice, so that the candy is in the shape of elongated teardrops. Place spoons on largest plate you can fit in your freezer. Put plate of spoons in freezer about 5 minutes to set. Just pop the ears right out of the spoon, and keep in fridge until ready to use.
For assembling cake pops:
- After cake is cooled, get your clean hands dirty and crumble it up in a large bowl. Mix well with 3/4 can of frosting. This is nice and messy! Roll mixture into balls a little smaller than golf sized. Place on wax paper.
- Melt candy melts in separate bowls in microwave, stirring well. Dip tip of lollipop stick into melted candy and insert halfway into cake balls. Place in freezer to firm up, about 10 minutes. Once firm, hold each cake ball by the stick and rotate cake balls into melted candy until completely covered. Stick into styrofoam block, so cake pops are sitting right side up.
- Before candy coating completely dries, "glue" on the ears and nose. If coating is already dry, just put a dab of melted candy coating on so you can do your gluing. Use same method to "glue" on collars, if desired. Once coating is fully dry, use edible pen to draw the eyes and nose. Pops can be kept in fridge until serving, if your room temp is too warm. Enjoy your sweet puppy cake pops!
