Instant Pot Brown Rice
- By Amy Dong
- Updated Jan. 2, 2026
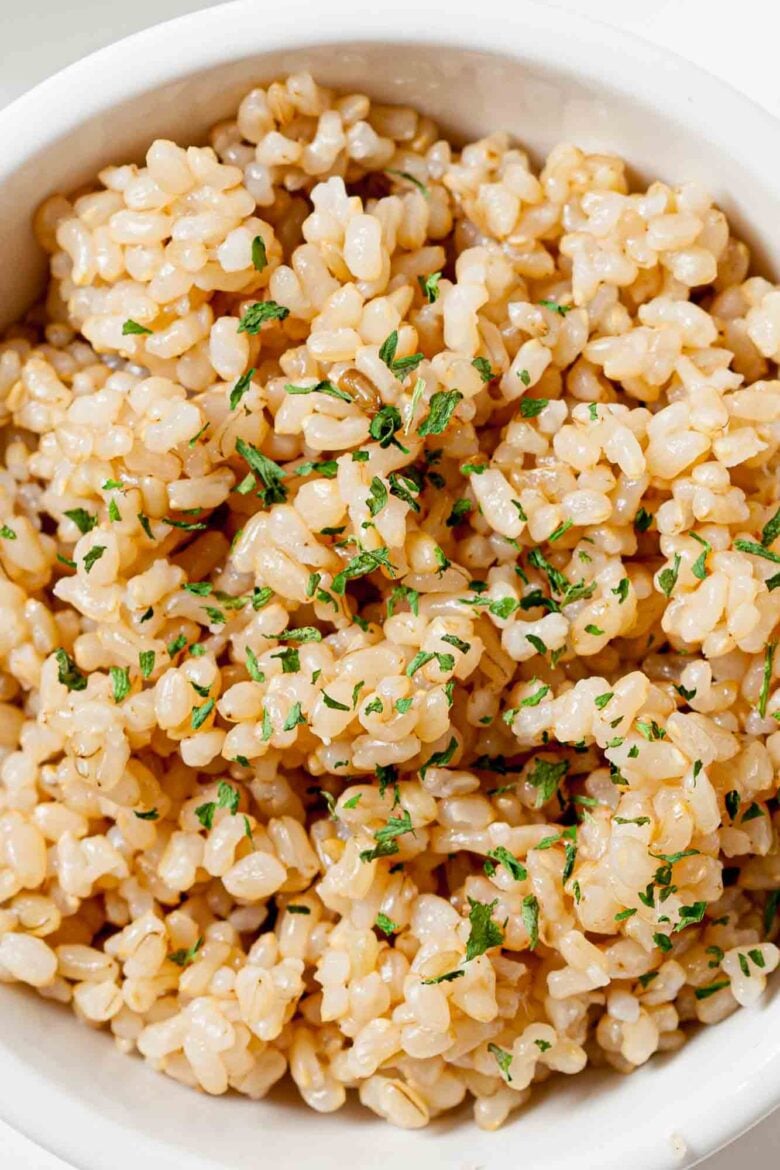
This instant pot brown rice is the easiest way to achieve perfectly cooked brown rice without standing over the stove. It comes out tender, chewy, and full of flavor every single time.
In This Article
This post may contain affiliate links, at no additional cost to you.
Amy’s Notes
I make this Instant Pot Brown Rice all the time because it’s easy, dependable, and always turns out perfectly cooked. Here’s why it’s one of the best instant pot recipes:
- Perfect Texture: The rice comes out tender with just the right chew every time. It’s the same reliable method I use for my Instant Pot Jasmine Rice, just adjusted for hearty brown rice.
- Hands-Off Simplicity: Once you set the timer, the Instant Pot does all the work. No stirring, no checking, no guessing.
- Incredibly Flavorful: Cooking the rice in broth instead of water adds a warm, savory flavor that makes even a simple bowl of rice taste special.
- Meal Prep Friendly: I love making a big batch and keeping it in the fridge for easy sides all week. It reheats beautifully and works great for quick meals, just like my Instant Pot Mexican Rice.
- Healthy and Hearty: Brown rice is full of fiber and nutrients, and the Instant Pot makes it easy to enjoy it more often.
Key Recipe Ingredients
- Brown Rice – I use organic short grain brown rice for its soft, slightly sticky texture and hearty chew. Long grain brown rice works too if you prefer fluffier, more separated grains.
- Broth – Chicken broth adds a savory depth of flavor, but veggie or beef broth works just as well.
Substitutions And Variations
Here are some of our favorite substitutions and variations:
- Broth Choices: I usually go with chicken broth for a savory base, but veggie or beef broth work just as well. You can also use water with a pinch of salt if you want a lighter flavor.
- Add-Ins: Try stirring in a tablespoon of butter or olive oil before cooking for extra richness. You can also toss in minced garlic, chopped onions, or a bay leaf for added flavor.
Step-By-Step Recipe Instructions
- Add brown rice and broth to the Instant Pot. Secure the lid and set to Pressure Cook for 20 minutes. This gives the brown rice time to cook through without turning mushy.
- Once done, press Cancel and allow a natural release for 10–20 minutes. This helps the rice finish steaming and stay fluffy.
- Carefully open the lid and fluff with a fork before serving. Letting it sit on Warm is fine until ready to eat.
For full list of ingredients and instructions, see recipe card below.
How To Prep Ahead
Take a look at our best prep-ahead strategies for this recipe:
- Cook and Store: You can make a full batch of brown rice up to three days in advance. Let it cool completely, then store it in an airtight container in the fridge. Reheat with a splash of water or broth to bring back the moisture.
- Freeze for Later: I like to portion the cooked rice into freezer-safe bags or containers. Flatten the bags for easy stacking and quick thawing. When ready to use, reheat straight from frozen in the microwave or on the stovetop with a bit of water.
What To Serve with Instant Pot Brown Rice
Mains and Stir Fries
- This Instant Pot Brown Rice makes a hearty base for saucy, flavorful dishes. We love serving it with Extra Crispy Orange Chicken for a takeout-style dinner at home.
- It’s also perfect alongside Beef and Broccoli Stir Fry, Mongolian Beef Recipe, or a quick Korean Beef Bowl Recipe for easy weeknight meals.
Seafood Dishes
- For lighter pairings, we like spooning this brown rice next to Pan Seared Rockfish or Pan Seared Tilapia.
- It’s also a great match with Easy Grilled Salmon when you want something fresh and wholesome.

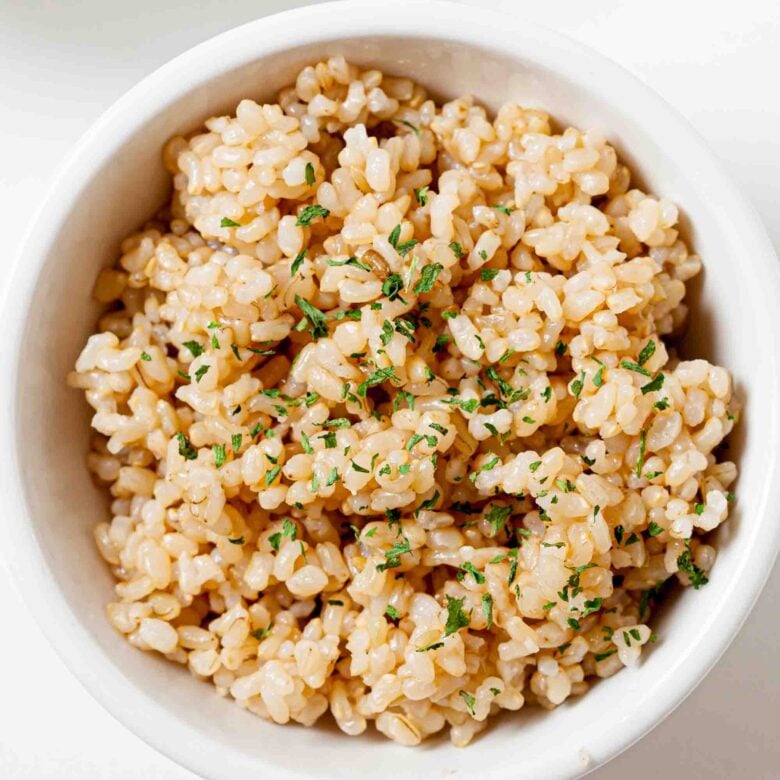
Instant Pot Brown Rice
Ingredients
- 2 cups brown rice, dry (I use organic short grain)
- 3 cups broth, of your choice
Instructions
- Add rice and liquid to the inner pot of Instant Pot. Lock the lid, ensuring the release cap is in correct position. Set to Pressure Cook for 20 minutes.
- Once timer is up, press Cancel and let your Instant Pot naturally release, 10-20 minutes. It's ok to allow natural release to take its time or to let the rice sit in pot on "Warm Setting" until you're ready to serve. When ready to serve, carefully open lid and fluff rice to serve.
Notes
- Rinse the rice before cooking. This removes excess starch and helps the grains stay separate and fluffy.
- Use the right ratio. Stick to 1 part brown rice to 1.5 parts liquid for the best texture every time.
- I like chicken broth for this recipe. You can use veggie or beef broth, as well as just water and a pinch of salt. Add 1-2 TB melted butter to the pot if you’d like extra flavor.
- Be sure your Instant Pot is in a location where it’s safe for natural release to vent upwards. I only say this because I’ve had it sitting under the tall cabinets in the kitchen before, and the cabinets took a major steam bath. Warped cabinet paint is not ideal.
- If you can’t avoid cabinets due to space, at least position your Instant Pot so the steam spout points away from cabinets. Better yet, use a steam diverter.
- Definitely be sure to cook only the amount of rice that will work for the size of your Instant Pot. Otherwise, you’ll experience a steamy mess on the lid afterwards.
- This recipe is part of our Rice and Quinoa Recipes Collection.
- We love serving this rice alongside easy mains such as our Extra Crispy Orange Chicken or Beef and Broccoli Stir Fry.
Nutrition (per serving)
Frequently Asked Questions
Yes. This recipe works with both short grain and long grain brown rice. Short grain gives a slightly stickier texture, while long grain stays fluffier and more separate.
The water to rice ratio is different between brown and white rice. White rice is almost a 1:1 ratio in an Instant Pot, whereas brown rice is more of a 1 to 1.5 ratio in the Instant Pot.
It’s a good idea to rinse the rice under cool water until the water runs mostly clear. This helps remove excess starch and prevents the rice from turning gummy.
You’ll do a natural release here. At least 10 minutes natural release time is recommended. Once the pressure cooker is finished cooking, I press cancel and let it natural release fully until it’s lost all steam. If I’m not ready to serve, I let it go to Warm setting until I’m ready.
Store leftover brown rice in an airtight container in the fridge for up to 4 days. Reheat it in the microwave with a splash of water or broth to bring back moisture. You can also freeze portions for up to 3 months and reheat straight from frozen.
More to Cook and Eat
- Wild Rice Pilaf – This wild rice pilaf recipe creates a side dish that’s full of delicious flavor. You can make this easy rice pilaf ahead of time, as it reheats well. Great for holidays and everyday meals.
- Easy Fried Rice – Better than takeout, this easy fried rice recipe is the ultimate budget-friendly comfort food that’s quick, healthy, and 100% delicious.
- Asian Rice Salad – This Asian Rice Salad is an exciting blend of flavors, color, and texture. The blend of grains and greens with sesame ginger dressing that’s scrumptious!
- Mexican Quinoa (One Pot) – This one-pot Mexican quinoa is chock full of protein, nutrition, and flavor! It’s perfect for a side dish, salad, or main dish.