S’mores Bars Recipe
- By Amy Dong
- Updated Jun. 18, 2026
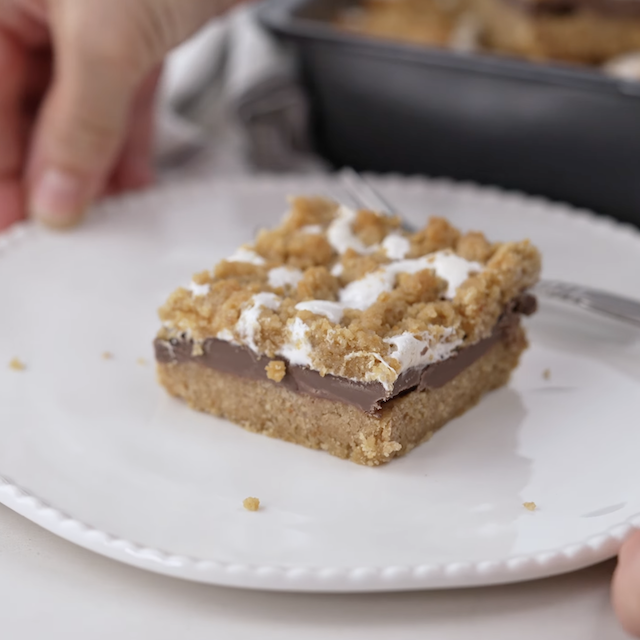
No campfire? No problem. This s’mores bars recipe gives you everything you love about the original — buttery graham cracker crust, melty milk chocolate, and that gooey marshmallow layer — all baked into an easy-to-slice bar. These are the bars I make when I want something that disappears fast at any party.

In This Article
This post may contain affiliate links, at no additional cost to you.
Amy’s Notes

Whenever I’m craving s’mores but a campfire isn’t in the cards, these S’mores Bars are here for you. They’re easy to make ahead, perfect for potlucks and picnics, and if I’m being honest, I think they’re even better than the original. They travel well, feed a crowd, and somehow disappear even faster than traditional s’mores.
- Better Than the Original: A buttery graham cracker crust, gooey marshmallow, and melty milk chocolate come together in every bite, with all the classic flavor of campfire s’mores in an easier-to-serve bar, much like these S’mores Cookie Bars.
- Perfect for Making Ahead: These bars slice cleanly, travel well, and can even be frozen for later if you don’t mind a delightfully chewy marshmallow.
- Made for Sharing: It’s easy to bake a big batch for parties, barbecues, and picnics, and there’s never a crumb left by the end. I love having them ready to go, just like my Oven S’mores.
- Guaranteed Crowd Favorite: Bring these once and don’t be surprised if you become the designated s’mores person for every gathering from then on.
Key Recipe Ingredients
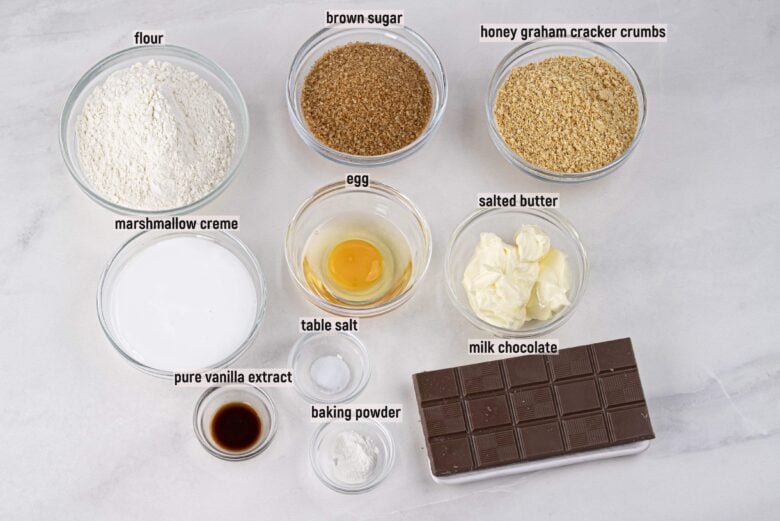
- Honey Graham Cracker Crumbs – Give the crust that classic s’mores flavor and a slightly sweet, toasty base. You can crush whole graham crackers if you don’t have pre-made crumbs.
- Salted Butter – Softened butter binds the crust together and adds rich, buttery flavor. Unsalted butter works too; just add a small pinch more salt.
- Brown Sugar – Adds sweetness and a hint of caramel flavor that pairs perfectly with the graham and chocolate.
- Egg – Helps the crust hold its shape and gives it a soft, chewy texture.
- Milk Chocolate Bars – The classic s’mores chocolate layer. I use standard milk chocolate bars, but semisweet or dark chocolate works if you prefer less sweetness.
- Marshmallow Creme – Creates that gooey, melty marshmallow layer without the need for roasting. Regular mini marshmallows can work in a pinch.
Substitutions and Variations
Here are some of our favorite substitutions and variations:
- Chocolate Options: I usually stick with milk chocolate for that classic s’mores taste, but you can use dark or semisweet chocolate if you like it richer. Try peanut butter cups or chocolate chips for a fun change.
- Crust Choices: Swap honey graham crackers for chocolate grahams or even crushed digestive biscuits. Each one gives a slightly different flavor and texture.
- Marshmallow Swap: If you don’t have marshmallow creme, use mini marshmallows instead. Just scatter them evenly over the chocolate before baking.
Step-By-Step Recipe Instructions
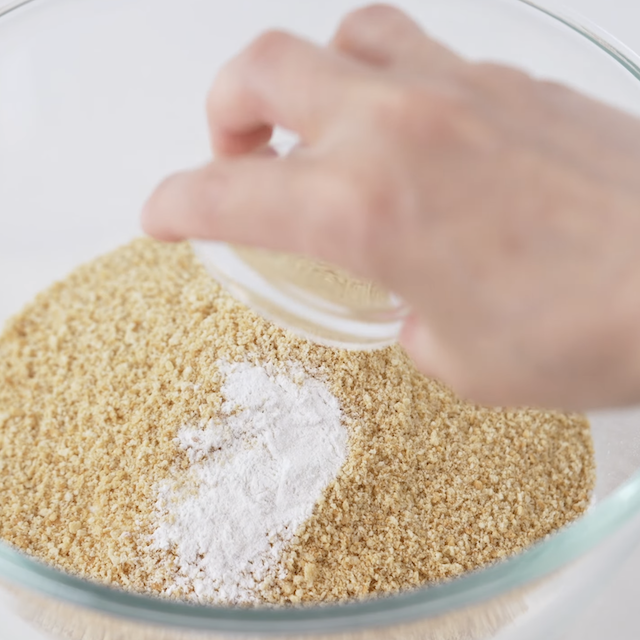
- Add dry ingredients to a bowl.
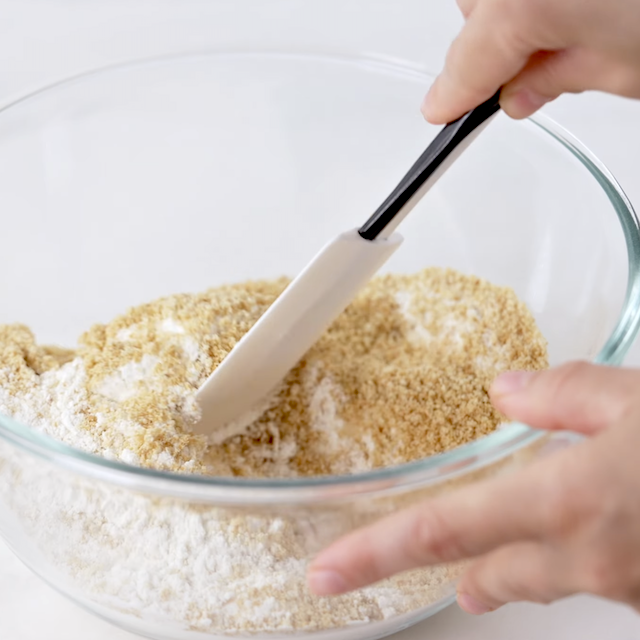
- Mix dry ingredients thoroughly to combine.
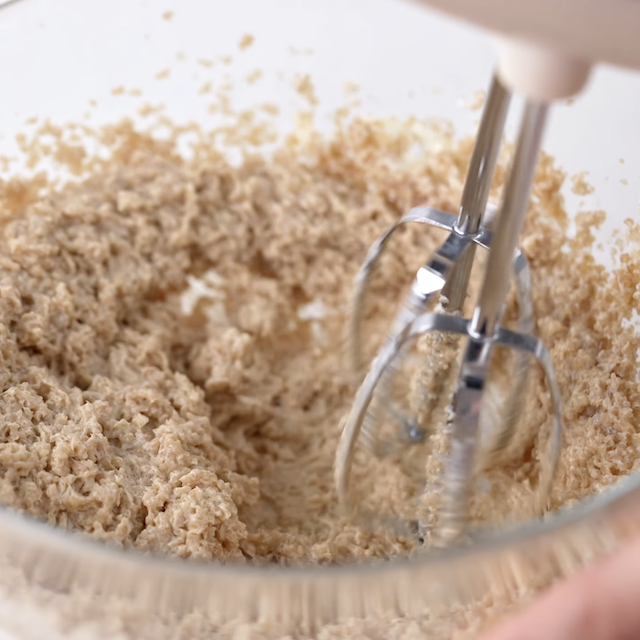
- Beat butter and brown sugar until fluffy.
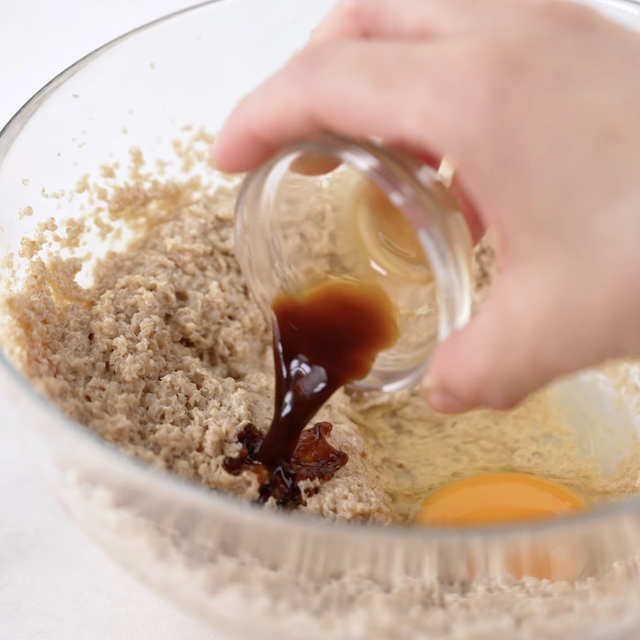
- Add egg and vanilla to the mixture.
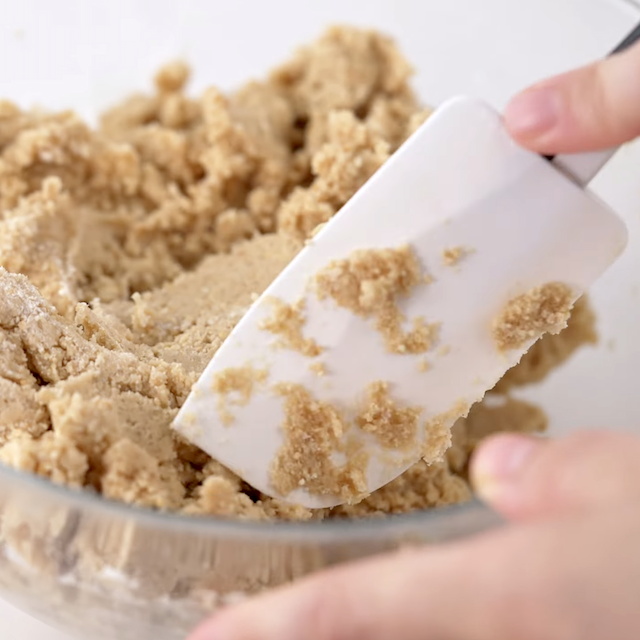
- Add dry ingredients and mix just until combined.
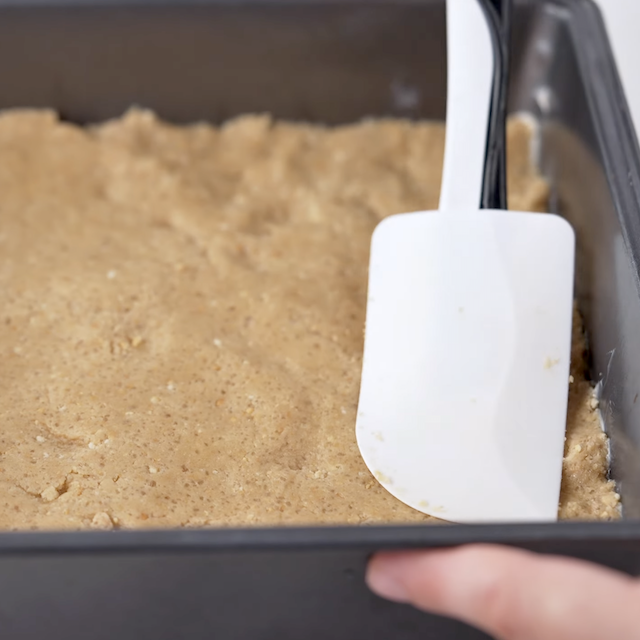
- Press dough into the pan, reserving some for topping.
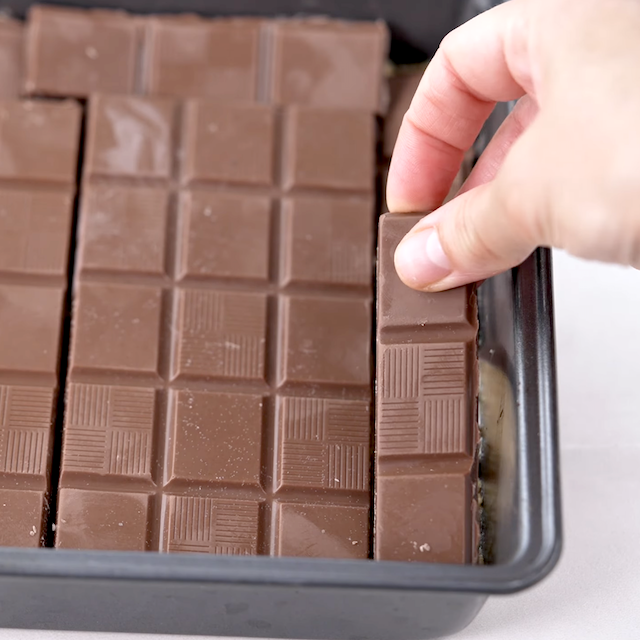
- Layer chocolate bars over the crust.
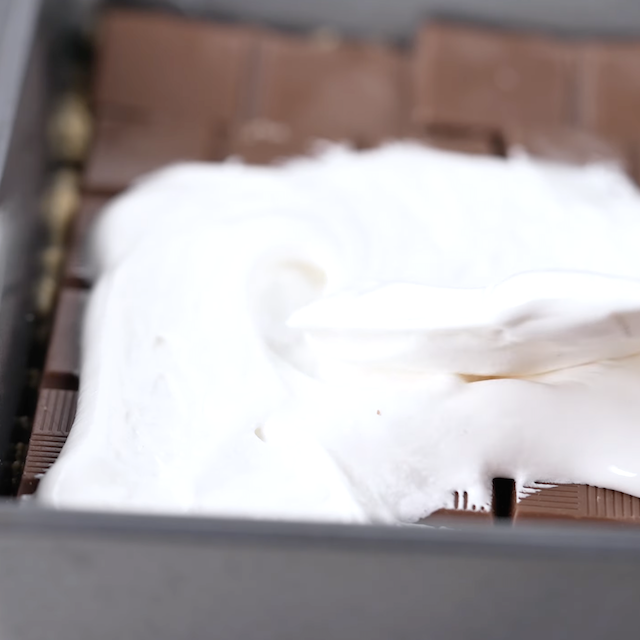
- Spread marshmallow creme over the chocolate.
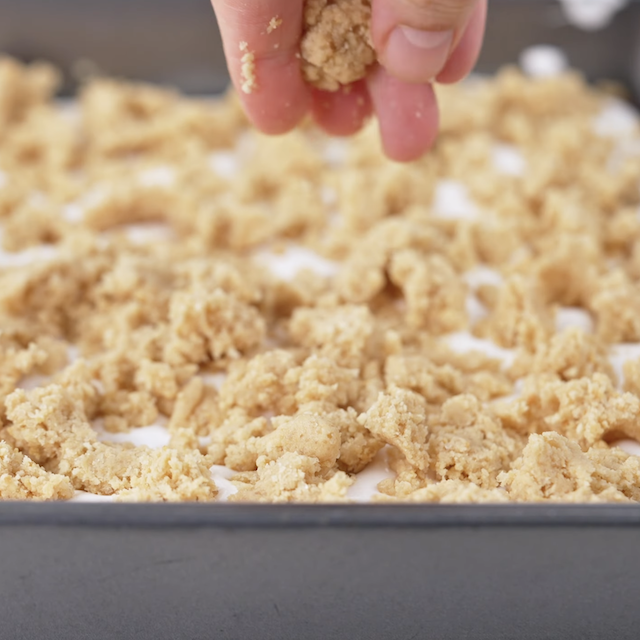
- Crumble reserved dough over the top.
- Bake until golden, cool, and serve.
For full list of ingredients and instructions, see recipe card below.
How To Prep Ahead
Take a look at our best prep-ahead strategies for this recipe:
- Make the Dough Early: Mix the graham cracker dough up to 2 days ahead and keep it covered in the fridge. Just let it sit at room temp for about 15 minutes before pressing it into the pan — it presses much more evenly that way.
- Bake a Day Ahead: These bars stay soft and chewy for several days. Bake them the night before, let them cool completely, and store them tightly covered at room temperature. They’ll be ready to slice and serve when you need them.
- Freeze for Later: Cut into squares, layer between parchment, and freeze in an airtight container for up to a month. Thaw at room temp — they’re still gooey and delicious.

Video: Watch Us Make This Recipe

S’mores Bars Recipe
Ingredients
- 1 cup honey graham cracker crumbs
- 1 ⅓ cup flour
- 1 teaspoon baking powder
- ¼ teaspoon table salt
- ½ cup salted butter, 1 stick, softened to room temp
- ⅔ cup brown sugar, tightly packed
- 1 large egg
- 1 teaspoon pure vanilla extract
- 5 bars milk chocolate, 1.55 ounce each
- 7 ounces marshmallow creme
Instructions
- Preheat oven to 350F with rack on lower middle position. Grease a 9×9 baking pan and set aside.
- In a bowl, combine graham cracker crumbs, flour, baking powder, and salt; whisk well and set aside.
- In a separate bowl, beat together the softened butter with brown sugar until "fluffy," about 2-3 minutes on medium-high speed.
- Beat in egg and vanilla extract just until combined. On low speed, gently mix in the flour mixture with the butter mixture just until incorporated; don't over mix. Place 1/2 cup of the mixture in the fridge to chill and reserve for topping.
- Use remaining mixture to press into bottom of greased baking pan, ensuring batter is evenly spread to corners.
- Place chocolate bars evenly over crust, breaking the last bar into pieces to fit the pan. Evenly spread marshmallow creme on top of chocolate.
- Crumble reserved 1/2 cup crust mixture evenly over the top. Bake uncovered, 25-30 minutes or just until top is golden brown. Do not over-bake.
- Let pan rest at room temp on wire rack until completely cool. Once dessert is cool, carefully slice into squares and serve. Leftovers can be stored in fridge or freezer in airtight container.
Notes
- Soften the butter fully before mixing. This helps create a smooth, fluffy dough that presses evenly into the pan.
- Don’t overmix the dough. Stop as soon as the dry ingredients are incorporated to keep the crust tender and crumbly.
- Chill the reserved dough. A quick chill makes it easier to crumble over the top and gives the bars a nice texture contrast.
- Spread the marshmallow creme gently. A small offset spatula or the back of a spoon works best to avoid pulling up the chocolate layer.
- Cool completely before slicing. This allows the chocolate and marshmallow layers to set for clean, even squares.
- Use a sharp knife for cutting. Wipe the blade between cuts to keep the layers neat.
- Serve slightly warm for gooey texture. A few seconds in the microwave brings back that fresh-from-the-oven softness.
- Store leftovers in an airtight container. Keep them at room temperature for 2 days or in the fridge for up to 4 days.
- This recipe is part of our Dessert Bar Recipes Collection.
Nutrition (per serving)
Frequently Asked Questions
Allow the bars to cool completely before cutting. If they’re still warm, the marshmallow layer will be very soft and messy. For extra neat squares, chill the bars for 30 minutes before slicing.
It helps. Letting them cool completely allows the chocolate and marshmallow layers to set, so you get clean slices. If you’re in a hurry, a short chill in the fridge will do the trick.
This usually happens if they haven’t cooled long enough. The crust and marshmallow layer need time to set before slicing, so patience is key.
Store leftover bars in an airtight container at room temperature for up to 2 days or in the fridge for up to 4 days. You can also freeze them for up to a month. Thaw at room temperature before serving, and enjoy them slightly chilled or gently warmed.
Yes, you can. Swap the regular flour for 1:1 gluten free flour and use gluten-free graham crackers.
Absolutely. Use a 9×13 pan and double the ingredients proportionately.
More to Cook and Eat
- Chocolate Peanut Butter Krispies Treats – Chocolate Peanut Butter Krispies Treats are a hit with kids and grownups. Super easy and guaranteed to vanish at any gathering. Easy gifts, too.
- Monster Cookie Bars – These Chewy Monster Cookie Bars are everything! They’re thick, chewy, and supremely satisfying. Chock full of your favorite goodies, they’re sure to please!
- Pecan Sandies (4-Ingredients) – These easy Pecan Sandies are melt-in-your-mouth shortbread cookies that extra flavorful and so easy to make.
- Berry Crumble Bars – These Berry Crumble Bars taste like your favorite berry pie, but are so much easier to make! They’re perfect for large crowds.