Easy Dinner Rolls (Less Than 1 Hour)
- By Amy Dong
- Published Nov. 22, 2023
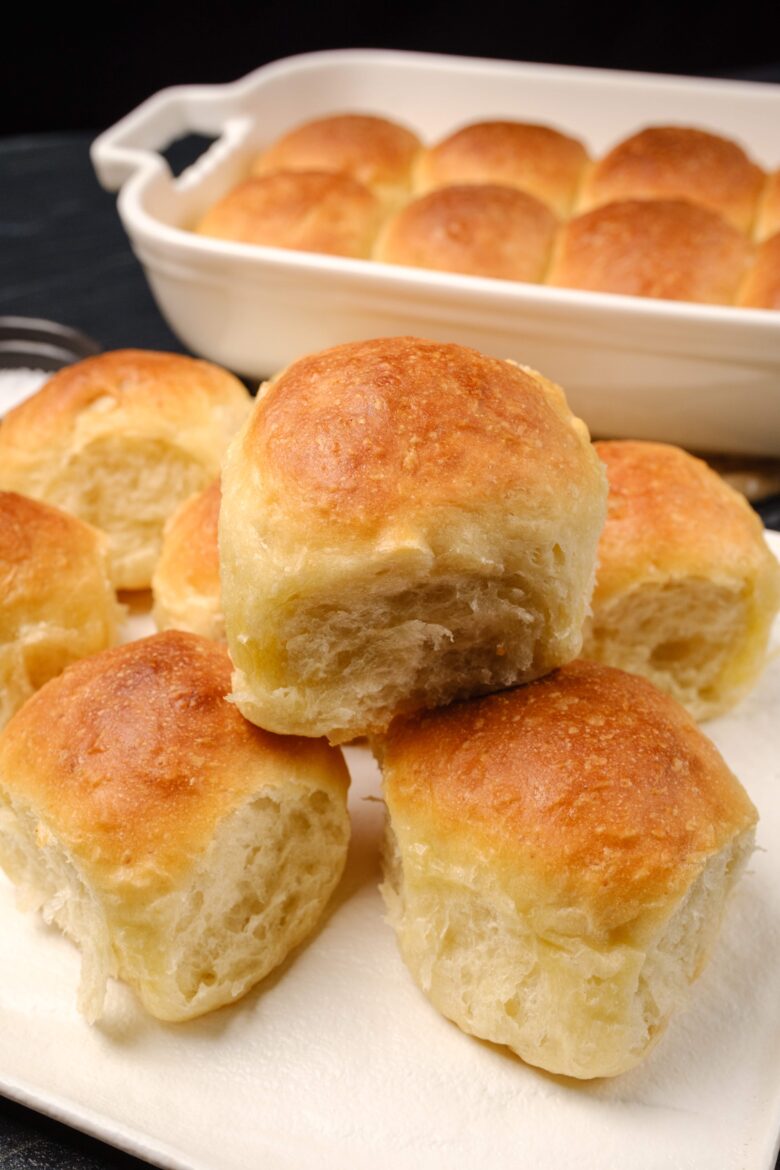
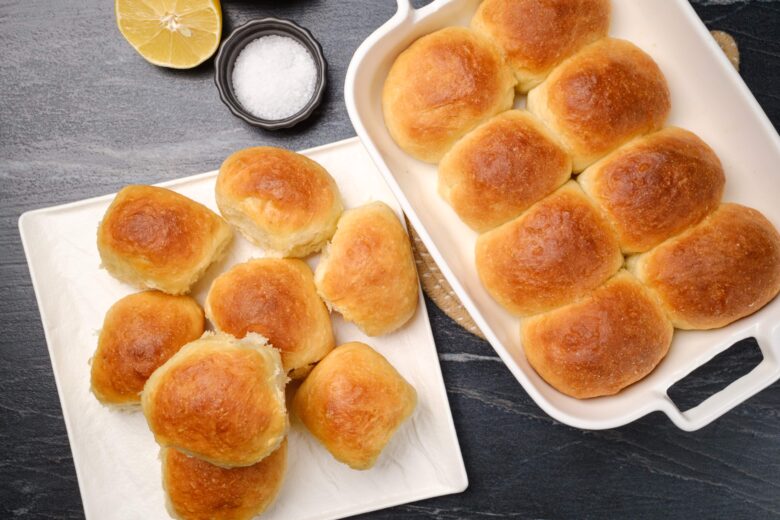
This Easy Homemade Dinner Rolls recipe is your golden ticket to fluffy, buttery, warm rolls straight from your oven. With just 8 ingredients and 1 hour, you’ll be serving up these crowd-pleasing rolls that are as easy to make as they are delicious.
In This Article
Video: Watch Us Make This Recipe
Why This Recipe Stands Out
There’s something about homemade bread that’s just unbeatable. And these Easy Homemade Dinner Rolls are no exception. They’re fluffy, golden, and incredibly easy to make. Here’s why this recipe stands out:
- Quick: You only need one hour to make these dinner rolls, making them perfect for busy weeknights. They’re perfect for pairing with other quick dinner meals.
- Easy to Follow: The step-by-step instructions make this recipe easy to follow, ensuring perfect results every time.
- Texture: These rolls are golden and slightly crisp on the outside while being soft and fluffy on the inside.
- Fresh: Nothing beats the taste and aroma of freshly baked bread, and with this recipe, you can have that experience at home.
- Versatile: These rolls are perfect for any meal, whether it’s a weekday dinner or a special holiday feast.
Key Recipe Ingredients
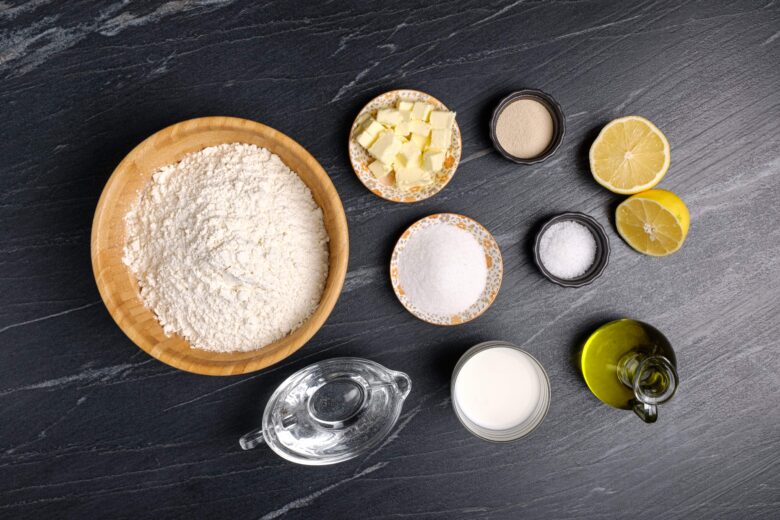
- Rapid Rise Yeast – This is the star ingredient of our homemade dinner rolls, making them rise quickly and efficiently. It’s user-friendly and requires much less rise time than traditional active yeast.
- Whole Milk – Whole milk adds a rich, creamy texture to the rolls, making them soft and fluffy on the inside.
- Freshly Squeezed Lemon Juice – Adding freshly squeezed lemon juice creates a slightly acidic environment that encourages the yeast to work even better (and faster), resulting in perfectly fluffy dinner rolls.
Substitutions And Variations
These Homemade Dinner Rolls have the most fluffy, buttery flavor and texture. But don’t be afraid to add your own spin on them! Here are some of our favorite variations and substitutions:
- Gluten-Free Rolls: Substitute the all-purpose flour with gluten-free baking flour to make these rolls suitable for those with gluten intolerance.
- Sweet Rolls: Turn these dinner rolls into sweet rolls by adding a tablespoon of honey or maple syrup into the dough. Drizzle the baked rolls with a simple glaze made of powdered sugar and milk.
- Garlic Dinner Rolls: If you love the flavor of garlic, consider brushing some garlic butter on top for your very own garlic bread rolls. You can also brush regular butter and sprinkle some garlic butter or parmesan powder on top. It’ll remind you of our Garlic Cheese Bread!
Step-By-Step Recipe Instructions
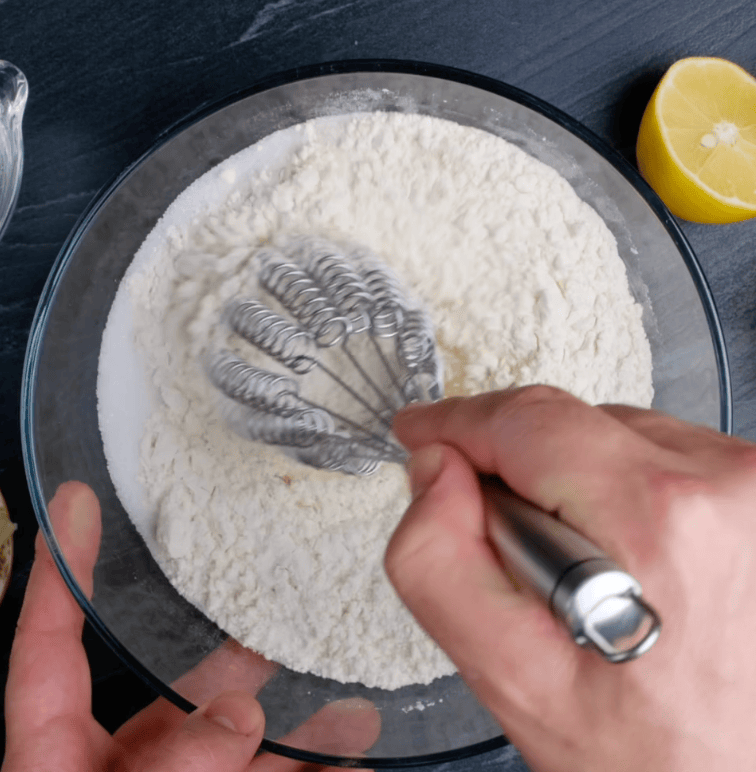
- Combine flour, sugar, yeast, and salt in a large bowl with a hand whisk.
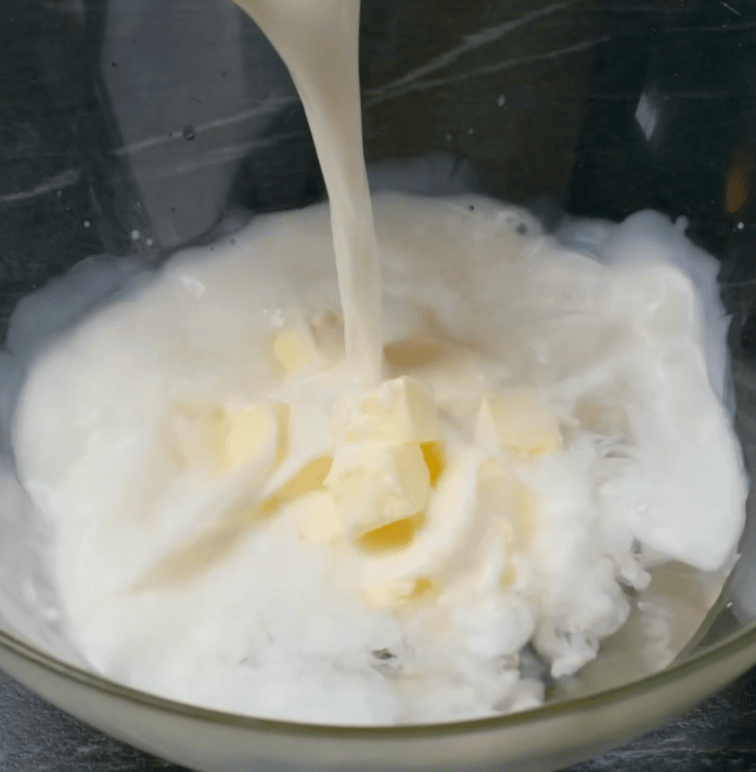
- In a microwave-safe bowl, mix water, milk, and butter. Heat this mixture in the microwave until it reaches a temperature of approximately 115 F and the butter has melted.
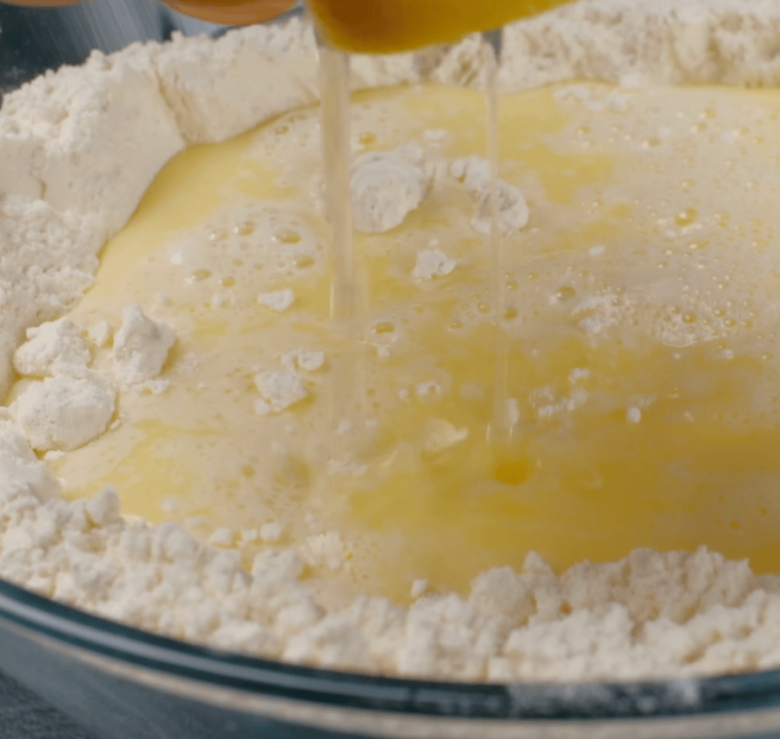
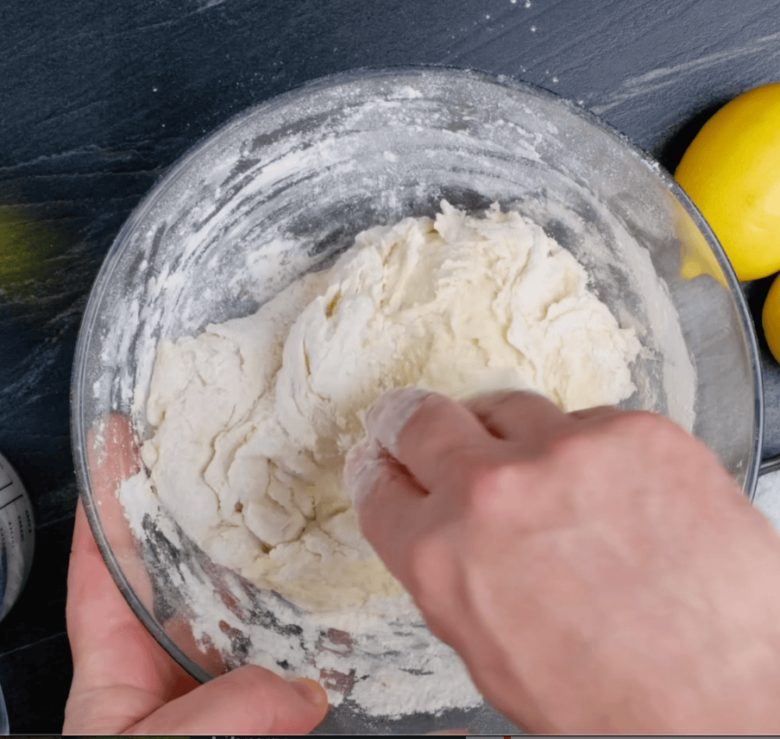
- Add lemon juice to the wet mixture and then pour it into the whisked dry ingredients.
- Mix the mixture and start kneading the dough.
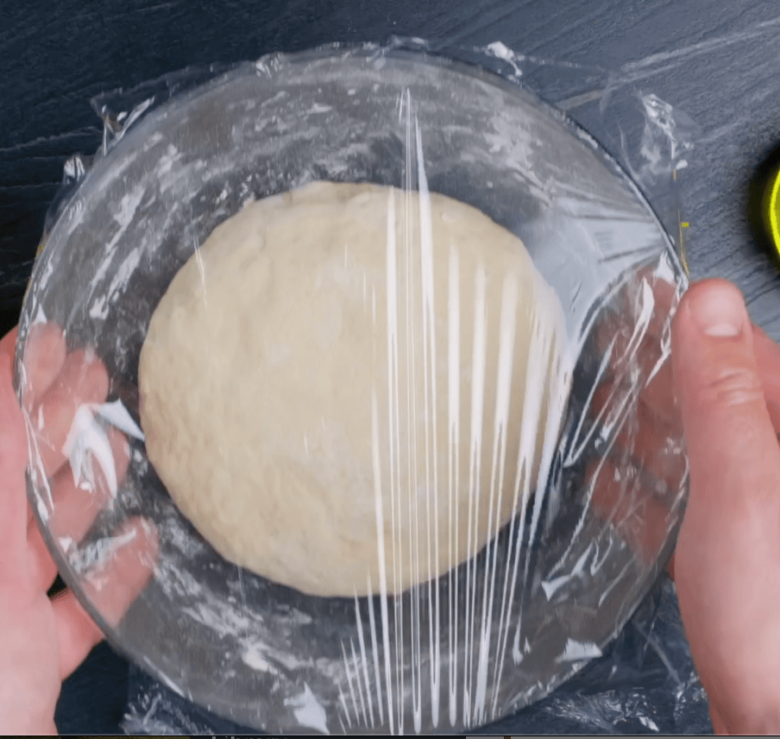
- If needed, add a bit more flour to achieve a play-dough-like consistency. Cover the dough in the bowl with plastic wrap and let it rest for 5 minutes.
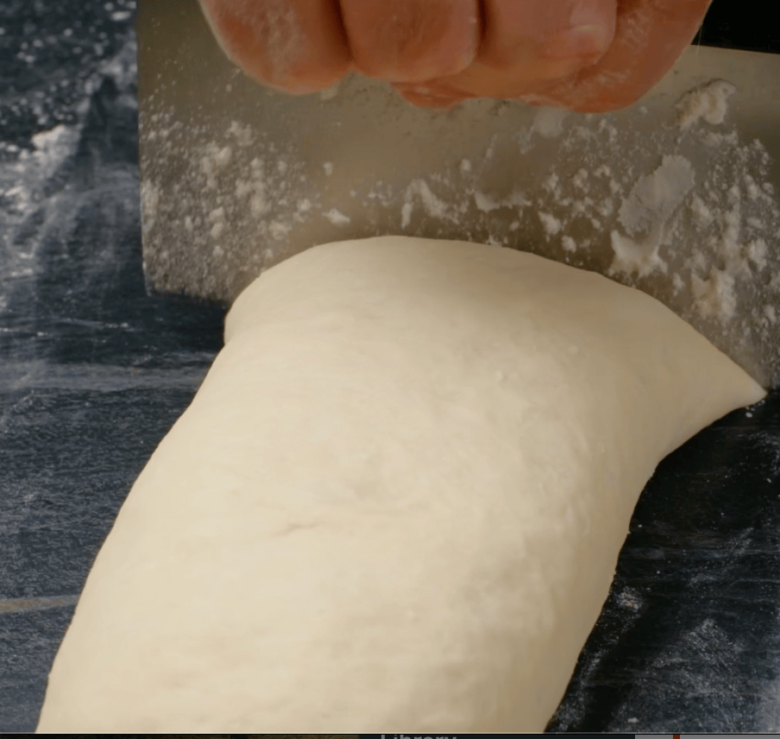
- Shape the dough into log.
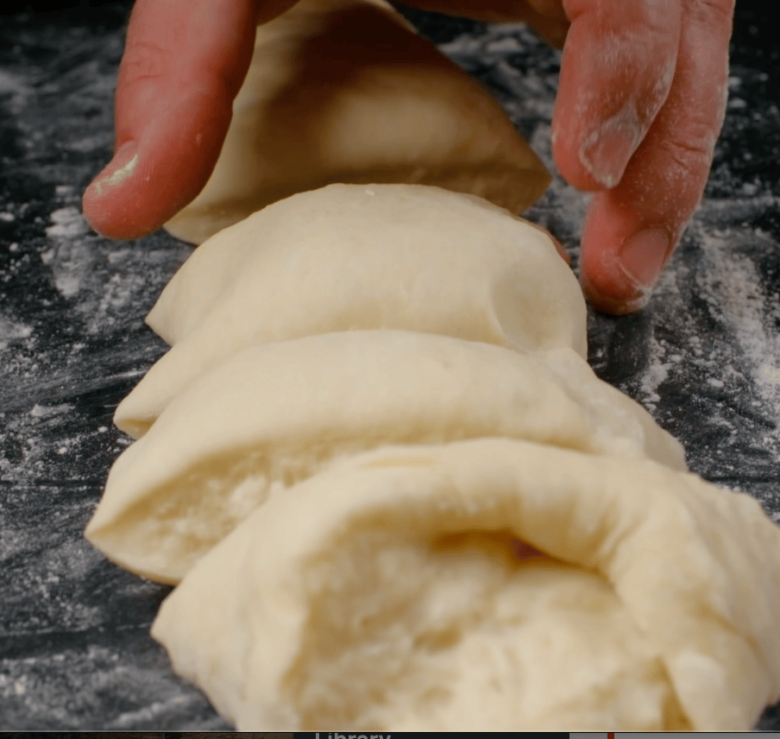
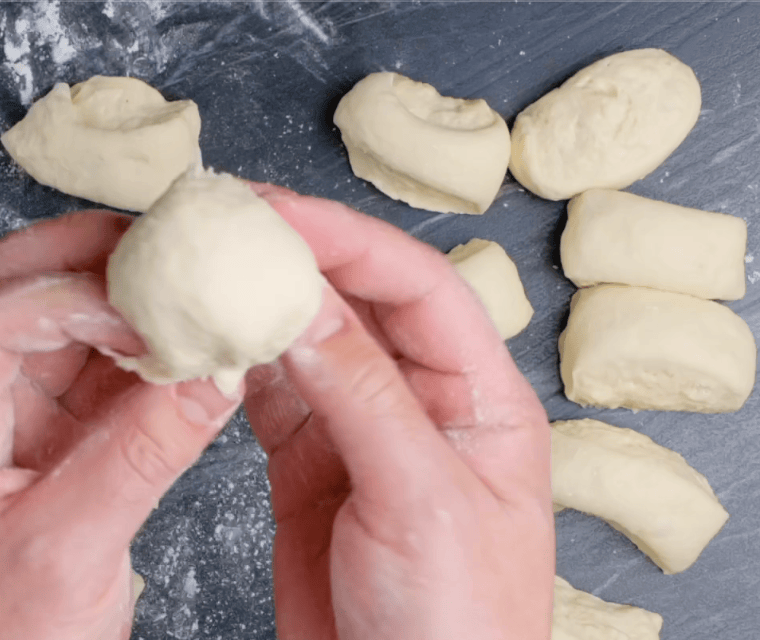
- Cut the log into 16 equal pieces. Shape each piece into balls and place them into a buttered baking dish, smooth side up.
- Shape each piece into balls and place them into a buttered baking dish, smooth side up.
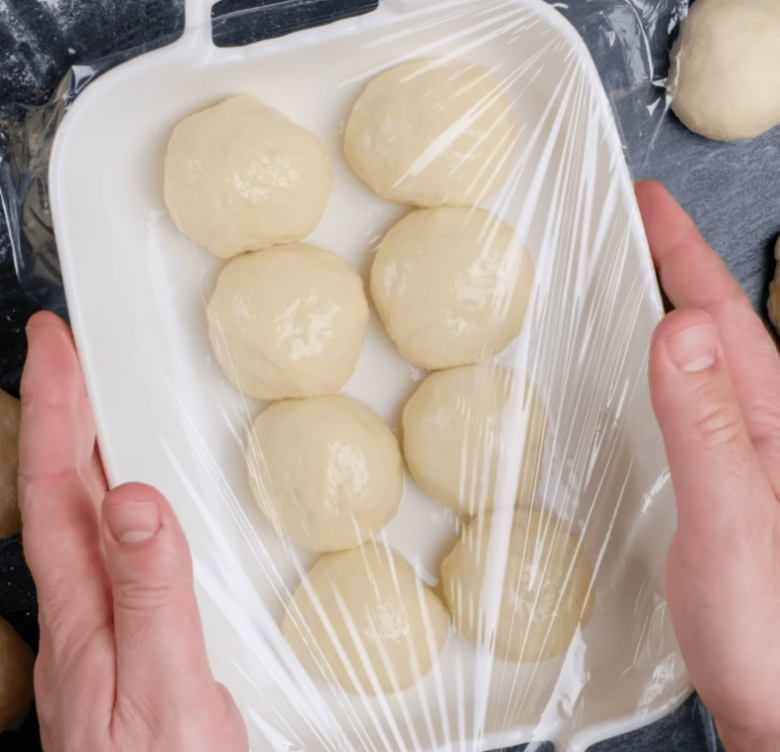
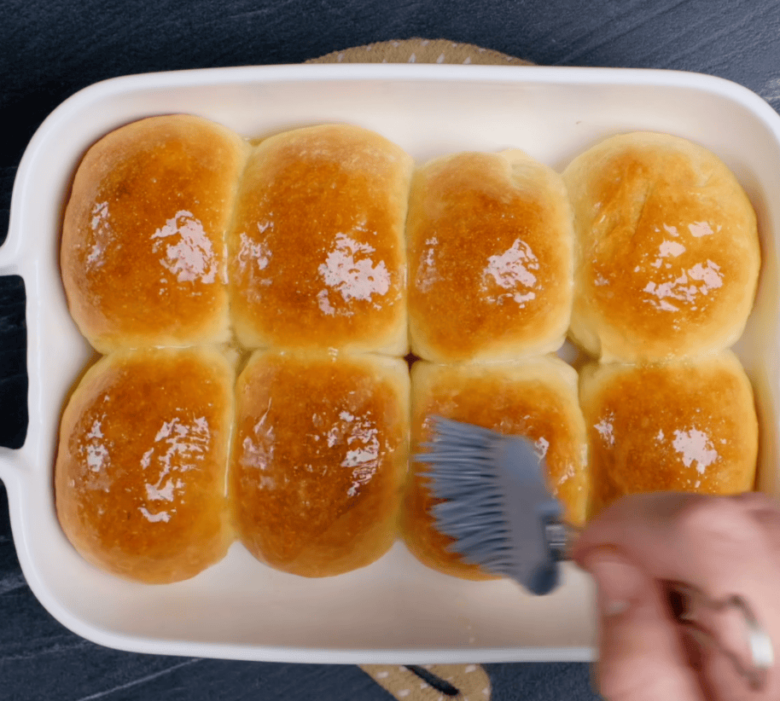
- Brush the tops of the rolls with olive oil to keep them moist while rising. Cover with plastic wrap and allow dough to rise for about twenty-five minutes then bake in a preheated oven at 375 F for fourteen to sixteen minutes or until the tops turn golden brown.
- Once baked, remove the rolls from the oven and brush them with melted butter. The rolls are best served warm.
For full list of ingredients and instructions, see recipe card below.
How To Prep Ahead
These easy dinner rolls are already incredibly easy to make, but we have some additional tips to make the process even simpler. Take a look at our favorite prep-ahead tips for this recipe:
- Dough Preparation: You can prepare the dough for these dinner rolls in advance. After mixing the dough, cover the bowl tightly with plastic wrap and let it rest. You can then refrigerate the dough for up to a day. When you’re ready to bake, let the dough come to room temperature before proceeding with the recipe.
- Pre-Shaping: Another time-saving strategy is to roll the dough into balls and place them in the buttered baking dish ahead of time. Cover the dish with plastic wrap and refrigerate. When you’re ready to bake, allow the rolls to come to room temperature and then proceed with the rising and baking steps.
- Freezing: These dinner rolls freeze beautifully. After baking and brushing with melted butter, let the rolls cool completely. Then, place them in a freezer-safe bag or container. They can be frozen for up to a month. When you’re ready to enjoy them, thaw the rolls at room temperature and warm them in the oven if desired.
What To Serve With Easy Dinner Rolls
Soups
- Homemade Dinner Rolls are the perfect companion to a hearty bowl of soup. We recommend trying them with a classic Chicken Noodle Soup or a rich and creamy Tomato Basil Soup.
- If you’re in the mood for something a bit more adventurous, why not pair these rolls with Coconut Curry Chicken Noodle Soup or a comforting bowl of Minestrone?
Pasta
- Pasta dishes and homemade dinner rolls are a match made in heaven. They’re perfect for mopping up the sauce in a plate of Spaghetti Bolognese or a creamy Fettuccine Alfredo.
- You can also go the classic route and try making our One Pan Skillet Lasagna or mix the best of two worlds with this Easy Lasagna Soup.
- And who can say no to some 30-Minute Chili Mac? It’s one of the tastiest combinations and goes so well with dinner rolls. Or made some Homemade Mac and Cheese!
Stews
- Soak up a delicious gravy or stew with these bread rolls. Beef Stew with Potatoes is the perfect match, and so is a Slow Cooker Beef and Barley Stew.
- And if you’re in the mood for some chicken dinner meals, then you can’t go wrong with this Chicken Stew with Sweet Potatoes.
Commonly Asked Questions
Yes, you can use active rise yeast, but keep in mind that it may require a longer rise time. Rapid rise yeast is designed to work faster and is more user-friendly, especially for beginners.
The dough should be similar to fresh Play-Doh. It should be smooth, elastic, and able to easily form a ball. It should not be overly sticky nor crumbly. If it’s too sticky, add a bit more flour. If it’s too dry, add a bit of water.
If you have leftovers, you can easily store them in the fridge or freezer. Or repurpose them and make some sliders using your favorite meatball sliders or even croutons out of them!
These homemade dinner rolls can be kept for up to a week. Store them in a sealed container at room temperature to keep them fresh. If you want to keep them for longer, you can freeze them for up to a month. Just make sure to thaw and reheat them properly before serving.
You can reheat the dinner rolls in the oven or the microwave. For the oven method, reheat them in a preheated oven at 350 F for 10 minutes or until they’re warm all the way through. You can also microwave them in 20 to 30-second increments. Cover them with a damp paper towel to prevent them from drying out.
Did you make this?
Please give us a rating and comment below. We love hearing from you!
Quick Easy Dinner Rolls
Ingredients
- 4 to 4 ¼ cups all purpose flour
- ¼ cup granulated sugar
- 1 ½ TB rapid rise (not active rise) yeast, equivalent to 1 1/2 envelopes
- 1 ½ tsp table salt
- ¾ cup water
- ⅔ cup whole milk
- 4 TB salted butter, diced
- 1 ½ tsp freshly squeezed lemon juice
- olive oil for brushing during rise
- 2-3 TB melted butter for brushing after baking
Instructions
- Preheat oven to 180F. In bowl of a stand mixer fitted with whisk attachment, whisk together 4 cups of flour, sugar, yeast, and salt.
- In a microwavable bowl, combine the water, milk, and butter. Heat in microwave on high until it reaches 115F and butter is melted, a little over 1 minute. Stir.
- Pour butter mixture into the stand mixer bowl. Add lemon juice. Set mixer with hook attachment and mix on low speed 3-4 minutes until dough is smooth and elastic.Add a bit more flour as needed to create a dough that is similar to play-dough. For me, 4 cups of flour is perfect. Dough should stick together nicely to form a ball, without being overly sticky nor dry.
- Cover bowl tightly with plastic wrap and rest 5 minutes. Butter a 13×9 baking dish.
- Roll dough up into a cylinder and cut into 16 equal sized pieces. Keeping dough covered as you work, shape each piece into balls by tucking edges under, pinching them together, and rolling the ball in your palms. Place rolls into buttered baking dish, smooth side up. Turn oven off.
- Lightly brush tops of rolls with olive oil so they keep moist while rising. Cover with plastic wrap. Place rolls in oven and allow to rise for 25 minutes.
- Transfer covered rolls to counter and set oven to 375F.Once oven reaches correct temperature, uncover rolls and bake on center rack for 14-16 minutes or until tops are golden brown.
- Remove from oven and brush with the melted butter. Serve rolls warm.
Notes
- Always make sure your rapid yeast is fresh and not expired. This is crucial for the dough to rise properly and give your dinner rolls the desired fluffy texture.
- Aim for a dough texture similar to fresh play-doh. It should be smooth, elastic, and easy to form into a ball, without being overly sticky or dry.
- If your dough turns out too sticky, don’t panic. Simply add a tablespoon of flour at a time until you achieve the right consistency.
- On the other hand, if your dough seems too dry, add a teaspoon of water at a time until it becomes soft and elastic.
- Remember to brush the tops of the rolls with olive oil before letting them rise. This helps to keep them moist and prevents them from drying out.
- Once the rolls are done, brushing them with warm butter will enhance their flavor and give them a beautiful golden brown finish.
- For a fun twist, try sprinkling a bit of garlic powder or parmesan powder on top of the rolls after brushing them with butter. This will add an extra layer of flavor and make your dinner rolls even more delicious.
- Don’t rush the process. Allow the rolls enough time to rise and bake properly. This patience will be rewarded with perfectly golden, fluffy dinner rolls that go great with some hearty 30-Minute Chili Mac or a delicious Roasted Tomato Basil Soup.
- If you tried this recipe and loved it, please come back and give it a rating. We ❤️ hearing from you!
Nutrition (per serving)
More to bake and eat
Rosemary Garlic Rustic Bread – With a soft, fluffy center and a lovely golden brown outside, this rustic rosemary garlic bread has the most delicious garlic flavor. It goes nicely with olive oil and balsamic vinegar for a delightful starter to all of your favorite main meals.
Better Than O.G. Breadsticks – You can easily make and enjoy these fluffy, soft Olive Garden Breadsticks straight out of the oven by using just a few pantry staples
Easy Cheesy Garlic Bread – There is no garlic bread that’s as good as this delicious, easy cheese garlic bread. It tastes incredibly with the perfect balance of garlic and cheese.
Chewy Crusty French Bread – Crusty, chewy French bread is a must-have at any meal. This recipe gives a crust that is perfectly crispy and browned, with a soft, chewy inside.
